What is a AWS Amplify
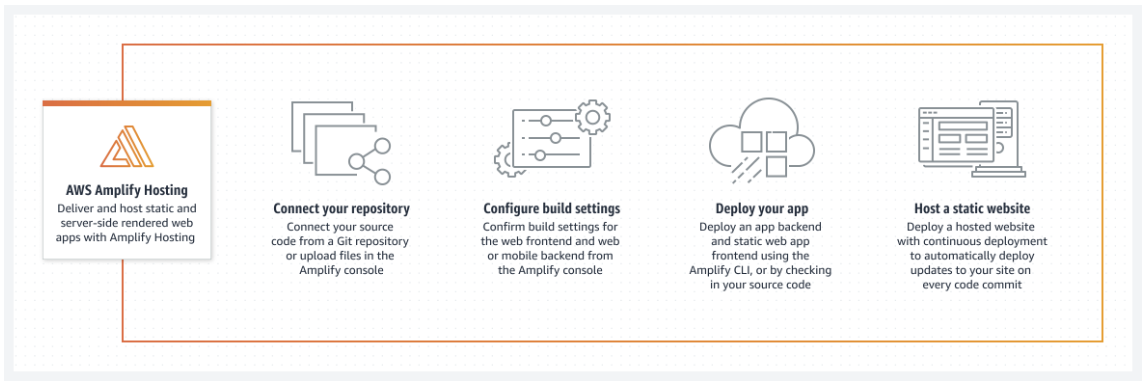
The Amplify service is provided by Amazon Web Services, they define it as “With AWS Amplify, building feature-rich, full-stack web and mobile apps has never been easier—from development to deployment. Get to market fast and scale as your business grows.” You can find out more information by going to https://aws.amazon.com/amplify/.
What is the process?
I wanted to ensure I maintained the structure when migrating, most importantly I wanted links to still work if they’ve been posted online and to also maintain search engine optimization on those links.
This also gave me an opportunity to update some modules being used, which meant some code had to change - in particular my code required a certain version of hugo to work, primarily its written in “Go”.
You can find more information about it here: https://gohugo.io/about/
So onto the process I planned out the below, more or less atleast:
- Create a new repo, clone my hugo template repo.
- Research the changes to hugo made since last version and adjust/upgrade as required.
- Copy content across from existing .git repo and integrate with new repo.
- Define build settings using an amplify.yml, this will help the CICD build process.
- Backup existing site data such as images and integrate into the core structure of the site.
- Create a web app within amplify and link the source repo.
- Run the first build against the main branch and monitor outcome of build process.
- Create a new branch called dev for when I start posting new content.
- Run a test new-post against the dev branch and monitor outcome of build process.
- Configure domain management on Amplify and domain registrar for SSL https and DNS purposes.
- Confirm process fully works from start to end, resulting in successful CICD and site fully migrated away from Azure.
1. Create a repo
Can probably skip this step and/or follow: https://docs.github.com/en/get-started/quickstart/create-a-repo, for cloning a hugo there are a fair few on the search engines.
2. Research changes
The changes can pop-up when you run a new “hugo” or “hugo server” command in the terminal, but for the most part issues were:
-
Missing permalinks in config.yaml
- permalinks: post: /p/:slug/ page: /:slug/
-
Dateformat needed amending to GMT
- dateFormat: published: Jan 02, 2006 lastUpdated: Jan 02, 2006 15:04 GMT
-
Various social media connectors I don’t use.
-
Various widgets I needed to enable
-
widgets: enabled:
- search
- archives
- tag-cloud
-
Various values that are now parameter values rather than using pre values.
3. Copy content from existing .git repo
Easily enough done by simply copying across previous content, this being my existing blog posts.
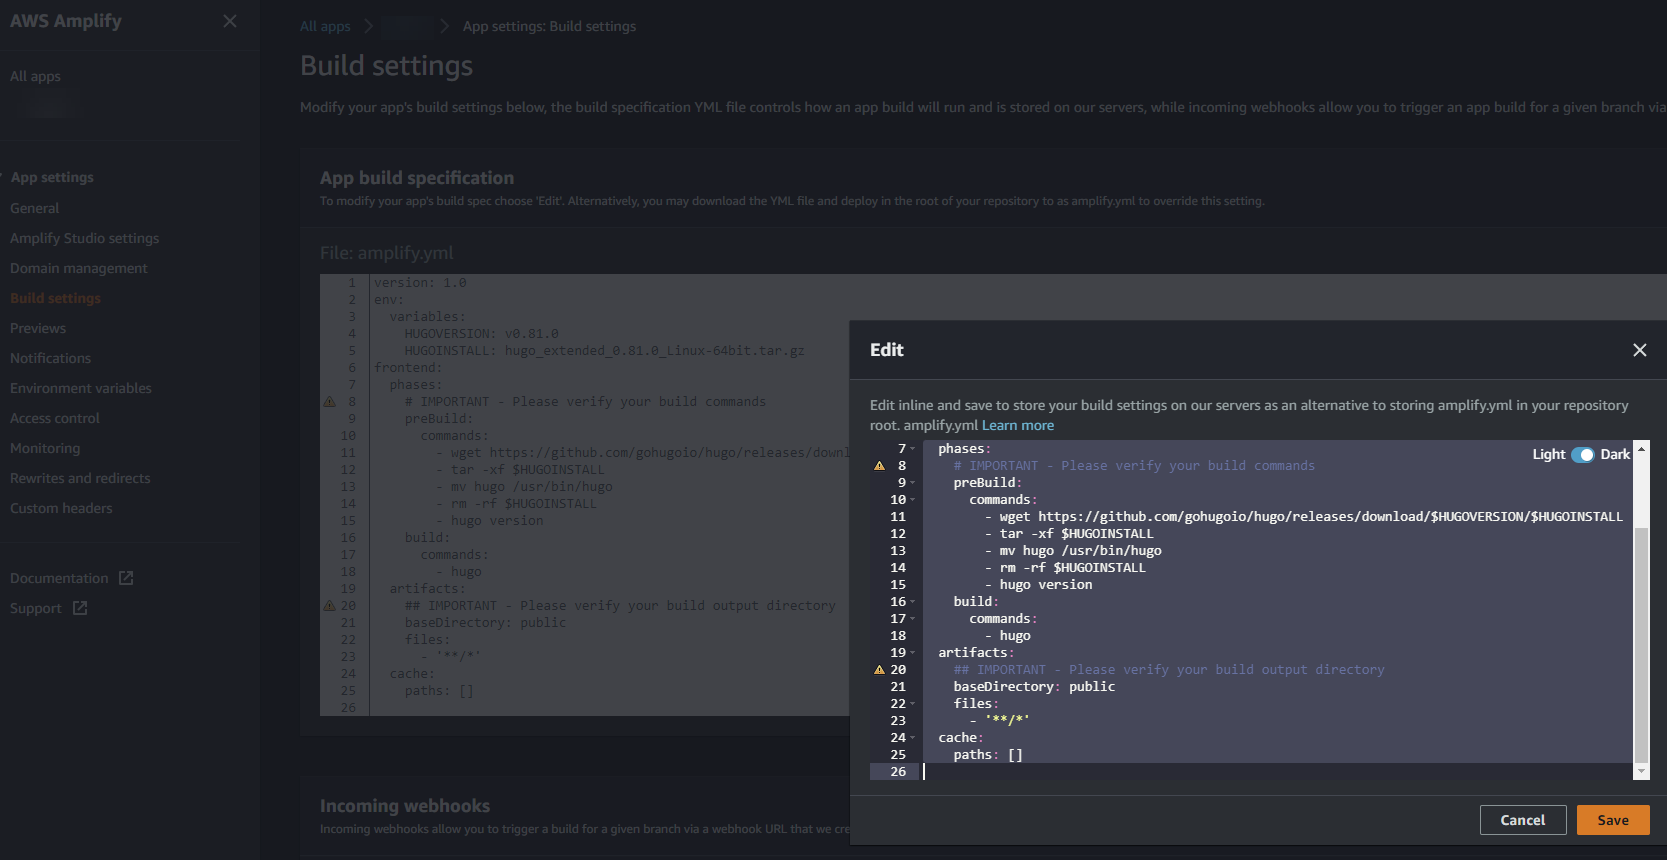
4. Configure amplify.yml
The following code builds the environment using a specific version of hugo that works with my repo.
In Azure Static Sites this isnt really a concern as it does this for you in the background, however if you were to use DevOps then you would probably need to provision the build process and agent with the below.
version: 1.0
env:
  variables:
    HUGOVERSION: v0.81.0
    HUGOINSTALL: hugo_extended_0.81.0_Linux-64bit.tar.gz
frontend:
  phases:
    # IMPORTANT - Please verify your build commands
    preBuild:
      commands:
        - wget https://github.com/gohugoio/hugo/releases/download/$HUGOVERSION/$HUGOINSTALL
        - tar -xf $HUGOINSTALL
        - mv hugo /usr/bin/hugo
        - rm -rf $HUGOINSTALL
        - hugo version
    build:
      commands:
        - hugo
  artifacts:
    ## IMPORTANT - Please verify your build output directory
    baseDirectory: public
    files:
      - '**/*'
  cache:
    paths: []
5. Backup existing content
In Azure I had my files hosted within a storage account which I could access locally from storage explorer, which was nice however with static sites its not best practice to do this (link external images), so while backing up the files I amended how my images are being sourced. In that, the files are now part of the site itself and rendered that way, rather than externally and these are hosted in git. So this removes the requirement to have an S3 bucket (for now).
6. Create a web app within amplify and link the source repo
In AWS Amplify, you import your repo via its wizard - it will prompt you to authorize Amplify to access and manage your git repo and any branches you import. Once imported it will attempt to build your site and provide you with an internal web app url for your site.
7. Deploy and monitor build
As in previous step, the build will automatically start and you can monitor the out put in the build process, mine looks like this.
2023-02-17T15:31:22.019Z [INFO]: # Executing command: tar -xf $HUGOINSTALL
2023-02-17T15:31:22.300Z [INFO]: # Executing command: mv hugo /usr/bin/hugo
2023-02-17T15:31:22.328Z [INFO]: # Executing command: rm -rf $HUGOINSTALL
2023-02-17T15:31:22.331Z [INFO]: # Executing command: hugo version
2023-02-17T15:31:22.378Z [INFO]: hugo v0.81.0-59D15C97+extended linux/amd64 BuildDate=2021-02-19T17:07:12Z VendorInfo=gohugoio
2023-02-17T15:31:22.380Z [INFO]: # Completed phase: preBuild
                                 # Starting phase: build
2023-02-17T15:31:22.381Z [INFO]: # Executing command: hugo
2023-02-17T15:31:22.417Z [INFO]: Start building sites …
2023-02-17T15:31:46.935Z [INFO]:
2023-02-17T15:31:46.936Z [INFO]: | EN
                                 -------------------+------
                                 Pages            |  95
                                 Paginator pages  |   7
                                 Non-page files   |  70
                                 Static files     |   0
                                 Processed images | 177
                                 Aliases          |  38
                                 Sitemaps         |   1
                                 Cleaned          |   0
                                 Total in 24531 ms
2023-02-17T15:31:46.940Z [INFO]: # Completed phase: build
2023-02-17T15:31:46.942Z [INFO]: ## Build completed successfully
2023-02-17T15:31:46.943Z [INFO]: # Starting caching...
2023-02-17T15:31:46.943Z [INFO]: Nothing to cache
2023-02-17T15:31:46.943Z [INFO]: # Caching completed
2023-02-17T15:31:46.946Z [INFO]: # No custom headers found.
2023-02-17T15:31:46.948Z [INFO]: # Starting build artifact upload process...
2023-02-17T15:31:49.777Z [INFO]: # Uploading build artifact '__artifactsHash.zip'...
2023-02-17T15:31:49.853Z [INFO]: # Uploading build artifact '__artifacts.zip'...
2023-02-17T15:31:50.449Z [INFO]: # Build artifact upload completed
2023-02-17T15:31:50.552Z [INFO]: # Starting environment caching...
2023-02-17T15:31:50.553Z [INFO]: # Environment caching completed
Terminating logging...
8. Create a new branch (dev)
In whatever IDE your using, I suggest VSC -
git checkout -b name-of-your-new-branch
9. Create a new branch (dev)
As previous step 7, output should look the same.
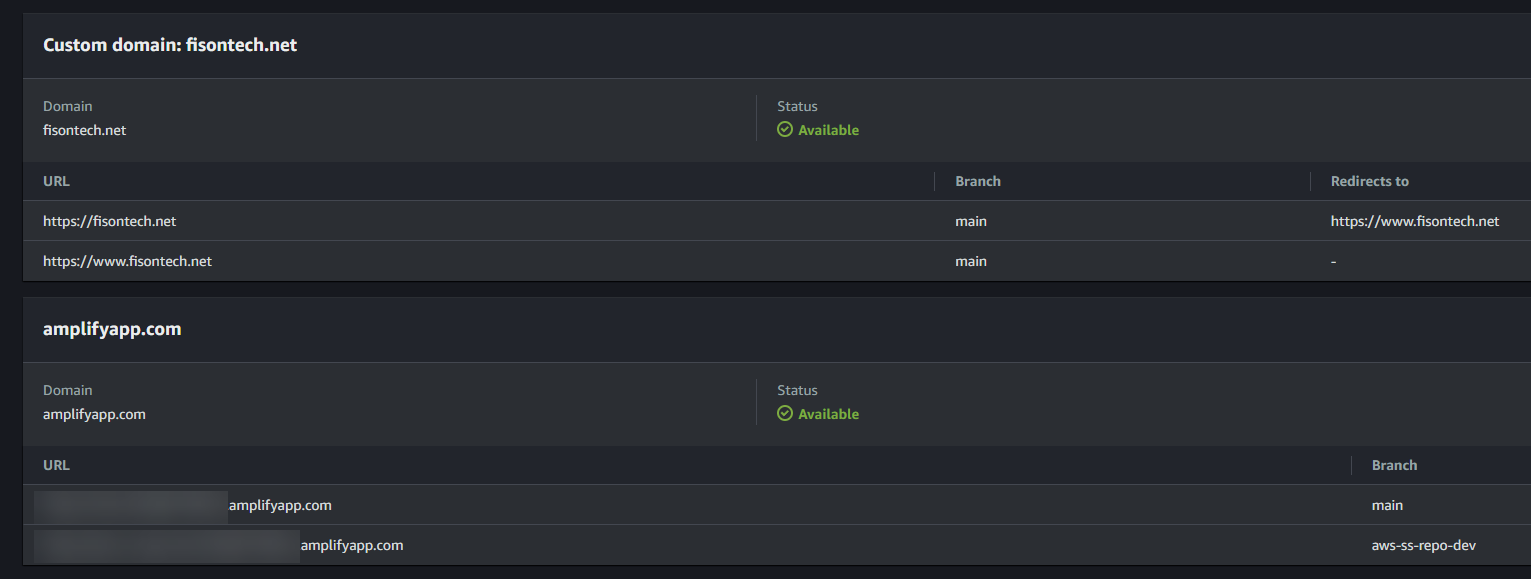
10. Configure DNS
The process will talk you through a few stages by asking you to first confirm you own the address, within your registrar you’ll add some strings, AWS will monitor once this has been done and then move you onto a few more steps, eventually resulting in the below.
11. Confirming everything works
A simple case of checking outputs for any, or hopefully lack of errors and checking the site is all running.
I would for example, write a new blog and simply have that on my dev branch, publish kick off CICD on dev branch and then check all ok, then merge into my main branch which would then kick off CICD for the main site.
Summary
So there we have it, a static site migrated to another cloud provider with no issues. I think this is a great example of how good it is to be cloud agnostic with regards to all things cloud. It also shows AWS solutions are on par with Azure. Lastly, worth noting that you can actually host a site using an S3 bucket, further details can be found on the AWS site or by searching online.
Thanks for reading!